Relying on basic baby-proofing like outlet covers creates a dangerous illusion of safety; the real threats are invisible and far more lethal.
- Heavy furniture can become a deadly tipping hazard from the simple act of a toddler opening a drawer, shifting its center of gravity.
- Common latch-style cabinet locks are puzzles that « problem-solving » toddlers can and will defeat, granting them access to dangerous items.
Recommendation: Immediately re-evaluate your living room from a crawler’s perspective, focusing on anchoring all furniture and securing all compartments with locks that cannot be bypassed.
You’ve done it. You’ve covered the electrical outlets, padded the sharp corners of the coffee table, and put a fuzzy stopper on the door. You look around your living room and feel a sense of accomplishment. It’s safe. It’s ready for your soon-to-be-mobile baby. But what if this feeling of security is a dangerous illusion? What if the most lethal hazards aren’t the ones you can easily see and fix, but the ones hidden in plain sight, governed by physics and a toddler’s relentless curiosity?
Most standard baby-proofing advice addresses the obvious. But the real dangers lie in the subtle interplay between a child’s weight, a piece of furniture’s stability, and the irresistible allure of a tiny, shiny object. This isn’t about being paranoid; it’s about being prepared for a reality that hospital emergency rooms see every day. The truth is, the most devastating accidents happen in homes that parents thought were perfectly safe.
This guide will shatter that illusion of safety. We are not going to re-hash the basics. Instead, we will expose the hidden forces and overlooked items that pose a genuine threat. We will delve into why heavy furniture tips, which locks a determined toddler can actually defeat, and how to create a space so safe you can finally stop saying « No! » every five seconds. It’s time to look beyond the outlets and see your living room for what it is: a landscape of hidden challenges that you must conquer.
To help you navigate these critical safety updates, this article breaks down the most overlooked dangers and provides clear, actionable solutions. The following sections will guide you through a professional-level assessment of your home.
Summary: The Hidden Dangers in Your « Safe » Living Room
- Why Dressers Tip Over on Toddlers Even with Drawers Closed?
- How to Choose a Baby Gate That Fits Weird Banisters?
- Magnetic or Latch: Which Lock Can a Smart Toddler Not Defeat?
- The Button Battery Danger Hiding in Your Remote Controls
- How to Create a Safe Zone Where You Don’t Have to Say « No »?
- How to Declutter Your Living Space to Promote Prenatal Mental Clarity
- How to Engage Your Core While Lifting the Car Seat to Protect Your Back?
- DIY Sensory Play: How to Create Safe Texture Bins for Babies Under 1 Year?
Why Dressers Tip Over on Toddlers Even with Drawers Closed?
The most common and dangerous misconception is that a heavy, sturdy piece of furniture is stable. This is fundamentally wrong. Any tall item, from a dresser to a bookshelf or even a modern flat-screen TV, is an inherent tipping hazard, and the danger is magnified by a toddler’s behavior. It’s not about the furniture’s weight; it’s about its center of gravity. When a child pulls out a drawer to use it as a step, they are shifting that center of gravity forward. The weight of their small body is enough to pull the entire unit down on top of them. The tragic reality is that 50% of furniture tip-over fatalities are caused by crushing, happening in seconds.
This isn’t a freak accident; it’s a predictable physics problem. The force a small child can exert is amplified, turning a seemingly immobile object into a deadly lever. This danger exists even with drawers closed if a child attempts to climb the exterior.
Case Study: The IKEA MALM Dresser Tragedy
The infamous 2016 recall of 29 million IKEA MALM dressers serves as a horrifying lesson. These incidents occurred because the dressers were inherently unstable if not anchored to a wall, a fact that wasn’t obvious to millions of buyers. Following the deaths of several children, IKEA eventually agreed to a $46 million settlement with the parents of a 2-year-old boy killed by a toppled dresser in 2017. This case proves that even popular, seemingly robust furniture can be fatal and that the only solution is non-negotiable anchoring for any piece of furniture over 24 inches high.
To truly grasp this risk, you must see your furniture from a toddler’s perspective. What you see as a solid object, they see as a ladder. The illustration below highlights the precarious balance that can be so easily disturbed.
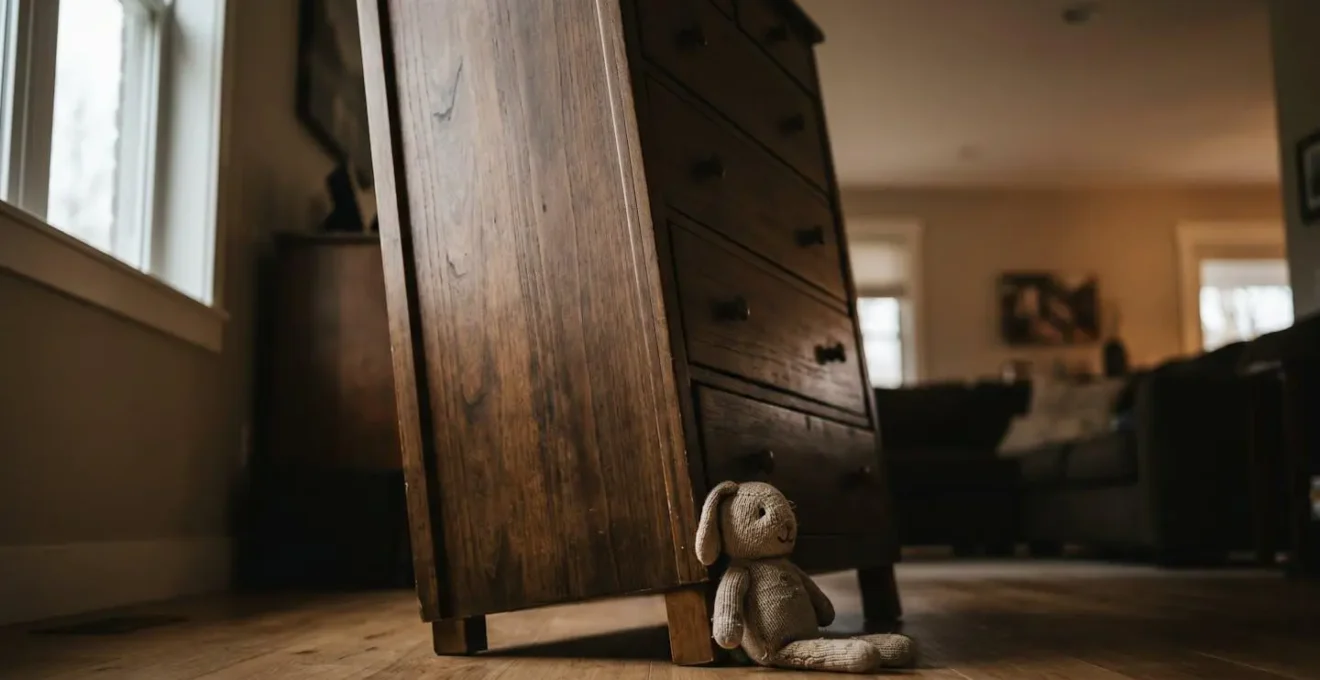
As the image suggests, the tall, slender profile of modern furniture is an invitation for disaster without proper safety measures. The only 100% effective prevention is to physically anchor every tall or heavy piece of furniture to the wall using furniture straps or brackets. This is not optional; it is the single most important baby-proofing task you will undertake.
How to Choose a Baby Gate That Fits Weird Banisters?
A baby gate seems like a straightforward purchase until you try to install one. This is especially true at the top of a staircase, the single most critical location for a gate. A pressure-mounted gate, which you simply wedge into an opening, is never safe for the top of stairs. A child pushing or leaning against it can dislodge it, leading to a catastrophic fall. The only acceptable option for the top of a staircase is a hardware-mounted gate that screws directly into the wall or banister post.
But what about those « weird banisters »—round, wrought iron, or glass? This is where many parents give up or install a gate incorrectly. The solution lies in specialized installation kits. Manufacturers offer a range of adapters, including Y-spindles for round posts and no-drill clamping systems that create a flat surface for mounting. Do not try to jury-rig a solution with zip ties or rope. A gate is only as strong as its weakest installation point. The goal is to create a secure barrier that can withstand a determined toddler’s pushing and pulling without budging.
When selecting a gate, also check for the ASTM F1004-23 safety standard certification. This ensures it has been tested for structural integrity, slat spacing (to prevent head entrapment), and latch security. The following checklist outlines the non-negotiable steps for a safe installation.
Your Essential Baby Gate Installation Audit
- Timing is Everything: Install gates at the top and bottom of all stairways before your child turns 6 months old. Don’t wait for them to become mobile.
- Top of Stairs Rule: Use only hardware-mounted gates that screw into a solid structure at the top of any staircase. No exceptions.
- Swing Direction: Ensure the gate is installed to swing toward the landing, not out over the stairs. This prevents accidental opening into a void.
- Mind the Gaps: After installation, check that there is no more than a 2.5-inch gap between the gate and the wall or floor, preventing a child from squeezing through.
- Standard Verification: Confirm the gate meets modern safety standards, as detailed in a safety guide from institutions like Nationwide Children’s Hospital, to ensure it’s free of hazards.
Magnetic or Latch: Which Lock Can a Smart Toddler Not Defeat?
You’ve installed the common plastic latch locks on your cabinets. You hear a « click » and assume the contents are secure. You have underestimated the opponent. A toddler is not just a curious baby; they are a persistent, tiny engineer dedicated to problem-solving. They will watch you, mimic you, and systematically test every weakness in your defenses. The simple pressure latch is one of the first « puzzles » they will solve.
These latches create a small gap before they engage, just large enough for tiny fingers to reach in. With enough jiggling and pulling, a determined child can often bypass or break them. The evidence is overwhelming, both anecdotally and in testing.
My 21 month-old has finally figured out how to open the cabinets by sticking her little arm inside and pressing down on the child-proof latch… Can anyone suggest a toddler-proof drawer and cabinet latch or lock?
– An anonymous parent
This common experience highlights the flaw in design. For areas containing genuinely dangerous items (cleaning supplies, medications, sharp objects), you must upgrade your security. The two main alternatives are spring-release latches and magnetic locks. While spring-release is a slight improvement, the undisputed champion of toddler-proofing is the magnetic lock. These are installed completely inside the cabinet or drawer, making them invisible from the outside. They can only be opened with a powerful magnetic « key. » There is no gap, no visible latch to fiddle with, and no way for a child to accidentally disengage it. In fact, Consumer Reports testing revealed that magnetic locks can withstand significantly more force than their plastic latch counterparts before failing. They are the definitive solution for securing high-risk areas from a smart, determined toddler.
The Button Battery Danger Hiding in Your Remote Controls
Of all the hidden hazards, this is perhaps the most insidious. We are talking about button and coin batteries. They are everywhere: in remote controls, key fobs, greeting cards that play music, and even some kids’ toys. To an adult, they are harmless. To a child who puts everything in their mouth, they are a fatal poison waiting to be swallowed. When a lithium coin cell battery gets lodged in the esophagus, its electrical current reacts with saliva to create sodium hydroxide, a chemical that is essentially lye. It can burn through the esophageal tissue in as little as two hours, causing severe, life-long injury or death.
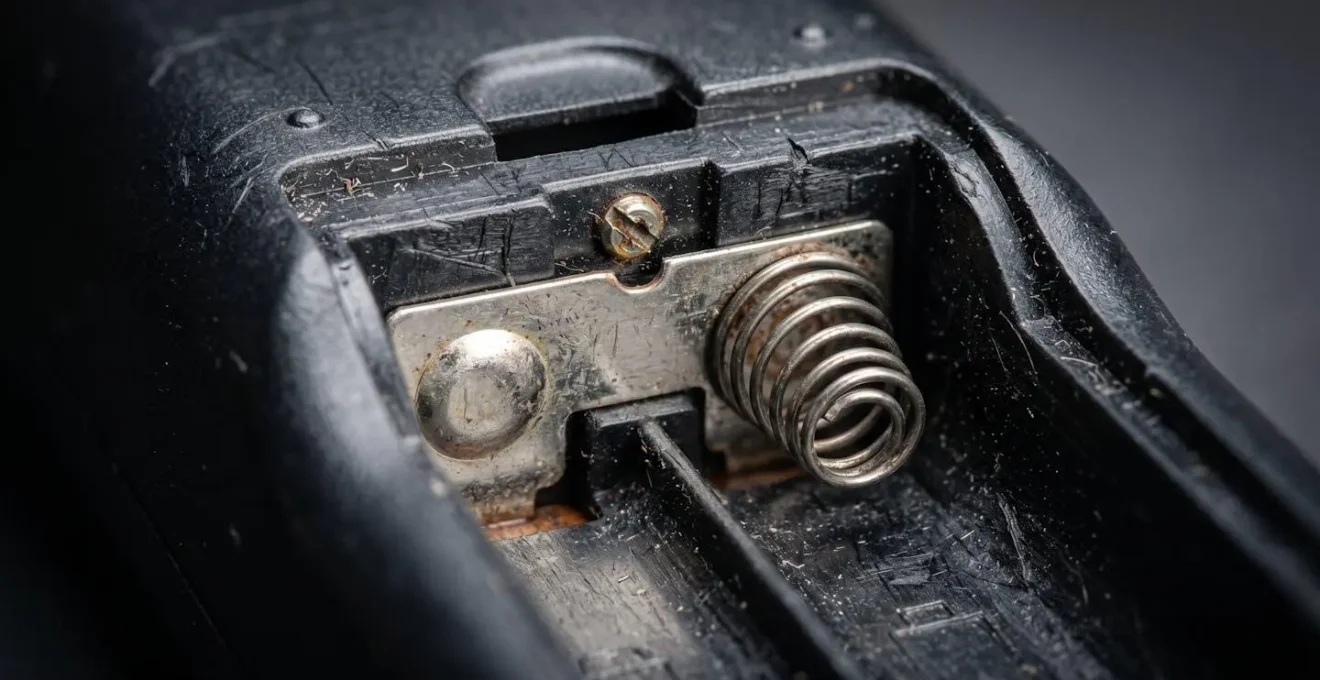
The urgent call to action is twofold. First, conduct a « battery sweep » of your home. Identify every single device that uses these batteries. Secure the battery compartments with strong tape (like gaffer’s tape) if they don’t already have a screw-on cover. Store any spare batteries as if they are a prescription medication—locked up and out of reach. Do not let your child play with remote controls or key fobs as toys.
This macro view of a battery compartment reveals how seemingly secure closures can have vulnerabilities.
Second, you must know the emergency protocol. If you even suspect your child has swallowed a button battery, this is a five-alarm medical emergency. According to the latest medical guidelines, the « Honey Protocol » can help mitigate damage while you get to a hospital. A 2025 bulletin from the American College of Emergency Physicians reinforces this life-saving intervention. For a child over 12 months, immediately give 10 mL (about two teaspoons) of honey every 10 minutes for up to 6 doses on your way to the emergency room. Do not induce vomiting. The honey can help create a barrier that slows the chemical reaction. This is not a cure, but a critical, time-buying intervention. Call Poison Control (800-222-1222) and get to the ER immediately.
How to Create a Safe Zone Where You Don’t Have to Say « No »?
Constantly saying « No! », « Don’t touch that! », and « Get away from there! » is exhausting for you and frustrating for your child. It can also stunt their natural desire to explore. Baby-proofing shouldn’t be about creating a house of restrictions, but about engineering a space for safe exploration. This is the philosophy behind creating a « Yes Space. » A Yes Space is a designated area of your home—typically the living room or a playroom—that is 100% baby-proof. It is a zone where your child is free to touch, explore, and play with anything within their reach without risk of injury or you having to intervene.
Creating this space is a transformative act for the whole family’s mental health. As early childhood educators point out, this philosophy is a powerful tool against parental burnout.
The ‘Yes Space’ philosophy: A tool for parental mental health that drastically reduces parental decision fatigue and verbal exhaustion.
– Montessori at Home educators, MONTESSORI AT HOME: Creating ‘Yes’ Spaces video guide
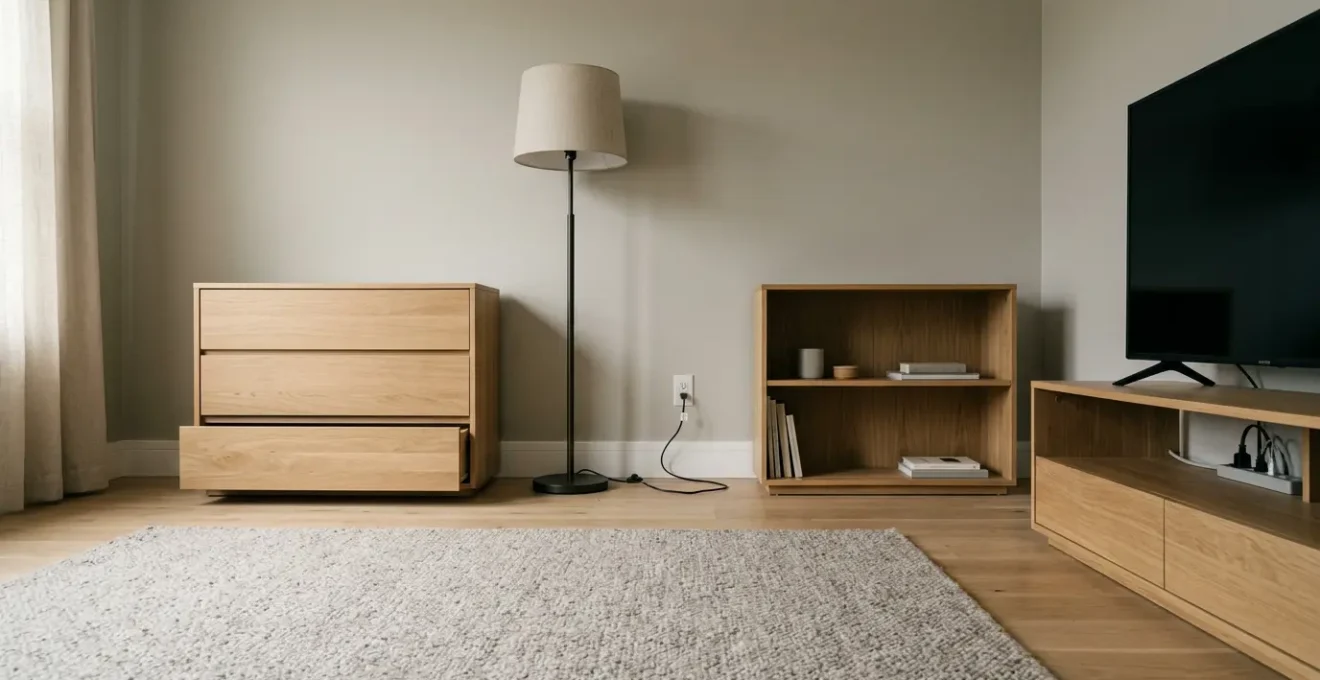
To create a Yes Space, you must be ruthless. Remove or lock away everything that is not safe for your child. This might mean temporarily storing a fragile lamp, replacing a hard-edged coffee table with a soft ottoman, or gating off the entire entertainment center. Once all hazards are eliminated, you fill the space with age-appropriate, safe toys, books, and climbing structures. The floor becomes the main play area, covered with a non-toxic playmat.
Case Study: The Real-World « Yes Space » Transformation
One parent documented their process of converting their apartment living room. They removed a brass console table and a marble coffee table—both beautiful, but hazardous. They installed magnetic locks on the media console, covered all outlets, and replaced the coffee table with a storage ottoman. The result was a space where their baby could roam freely and the parents could relax, knowing everything within reach was safe. They successfully transformed their living room into a functional family space, not just a giant playpen, proving safety and aesthetics can coexist.
How to Declutter Your Living Space to Promote Prenatal Mental Clarity
The « nesting » instinct is real. During pregnancy, there’s a powerful urge to organize and prepare your home. Often, this is viewed through an aesthetic lens—creating a calm, beautiful nursery. But when it comes to the shared living space, decluttering takes on a far more urgent and practical role: it is the first step of deep baby-proofing. A cluttered space is a dangerous space because the clutter hides the hazards. You cannot anchor a bookshelf you can’t get to, nor can you see the lamp cord snaking behind a pile of magazines.
Promoting « prenatal mental clarity » is not just about having a tidy home to relax in before the baby arrives. It’s about systematically clearing the battlefield. By decluttering, you are giving yourself a clear, unobstructed view of the environment your crawling baby will soon be exploring. Every item you remove is one less thing they can pull down, swallow, or trip over. This process allows you to see the room with fresh eyes and identify the real structural dangers—the unstable bookcase, the wobbly floor lamp, the cluster of cords behind the TV.
Think of it as a two-phase project. Phase one, done during pregnancy, is removing the surface-level « stuff »: stacks of books, decorative objects on low shelves, unnecessary side tables. This creates the mental and physical space for phase two, which is the structural safety work we’ve been discussing. A decluttered room is not just calming; it’s a properly prepped environment where a real safety audit can begin. You are trading temporary decorations for permanent peace of mind.
How to Engage Your Core While Lifting the Car Seat to Protect Your Back?
In the whirlwind of focusing on your baby’s safety, it’s incredibly common for parents to neglect their own. One of the most frequent new-parent injuries is a strained or thrown-out back, often from one repetitive motion: lifting the infant car seat. That awkward, heavy bucket—plus a growing baby inside—puts an enormous strain on your lower back, especially if you’re twisting to get it out of the car or onto the living room floor.
Protecting your back requires a conscious shift in how you move. It’s not about muscle; it’s about mechanics. The key is to stop lifting with your back and start lifting with your legs and core. Before you even attempt to pick up the car seat, you need to engage your core. This doesn’t mean doing a crunch; it means bracing your abdominal muscles as if you’re about to be lightly punched in the stomach. This creates a « natural corset » that stabilizes your spine.
Follow these three steps every single time you lift:
- Get Close and Low: Stand as close to the car seat as possible. Bend at your knees and hips, keeping your back straight. Do not round your back and bend from the waist.
- Brace Your Core: Before you lift, take a breath in, and as you breathe out, tighten your abdominal muscles. Feel that stability in your midsection.
- Lift and Turn with Your Feet: Drive the lift with your powerful leg muscles, pushing the floor away. As you stand up, hold the seat close to your body. If you need to turn, do not twist your spine. Instead, move your feet to point your entire body in the new direction.
This may feel unnatural at first, but making it a habit is as critical as buckling your baby in correctly. Your ability to care for your child depends on your own physical health. A back injury is not just painful; it’s debilitating for a new parent.
Key Takeaways
- The greatest dangers are not obvious; they are hidden in the physics of tipping furniture and the chemistry of swallowed batteries.
- A « problem-solving » toddler will defeat basic safety latches; only invisible magnetic locks offer true security for hazardous cabinets.
- Creating a 100% safe « Yes Space » is more effective for both child development and parental sanity than constantly saying « No. »
DIY Sensory Play: How to Create Safe Texture Bins for Babies Under 1 Year?
After turning your living room into a fortress of safety, it’s time to reintroduce the fun. Exploration is a critical part of infant development, and sensory play is a fantastic way to stimulate their growing minds. However, the idea of a « sensory bin » can be terrifying for parents of babies under one, as their primary method of exploration is tasting. The solution is simple: make the sensory bin edible. Creating « taste-safe » bins allows for all the tactile fun without the choking or toxicity risk.
The core principle is to use basic food items that are safe for a baby to ingest in small amounts. You are creating a texture to be explored, not a meal. Always supervise sensory play closely, but a taste-safe foundation removes the constant worry. These bins can be made in minutes with items you already have in your pantry.
Here are some simple, safe, and engaging recipes for a baby’s first sensory experiences:
- Cooked Pasta Pit: Boil large-shaped pasta like rigatoni or penne until soft. Once cooled, you can add a drop of food coloring or a tiny bit of coconut oil. The large, soft shapes are easy for little hands to grab and are safe if tasted.
- Oatmeal « Sand »: Prepare a thick batch of oatmeal and let it cool completely. Its gooey, gritty texture is fascinating for babies. You can spread it on a high-chair tray for contained fun.
- Yogurt Finger Paint: Use plain, full-fat yogurt and divide it into a muffin tin. Add a drop of natural food dye to each section to create a vibrant, edible paint palette for tiny fingers.
- Jiggly Gelatin: Prepare a pan of unflavored gelatin (using less water for a firmer set). Once solid, you can cut it into large cubes. The cool, wobbly texture is a unique sensory experience.
These activities turn your newly secured « Yes Space » into a hub of safe and joyful learning. You’ve removed the dangers, and now you can confidently add back the opportunities for rich, developmental play.
Your work is not done after reading this guide. In fact, it has just begun. Get up, go to your living room, and get down on your hands and knees. See the world from a crawler’s perspective. Pull on the TV stand. Tug on the lamp cord. Look for the tiny, shiny things. This is the only way to truly transform your home from one with an illusion of safety into a genuine safe haven.